Work continued this week on the rafters and decking for the porch roof. Cutting the rafters was the most complex joinery I’ve done but so far but it’s looking good so far. Installation was a game of dodging the sun. Here’s the time lapse video:
And here are stills with more details:
Cutting birds mouth joint in rafter. This is where the rafter will attach to the porch beam.
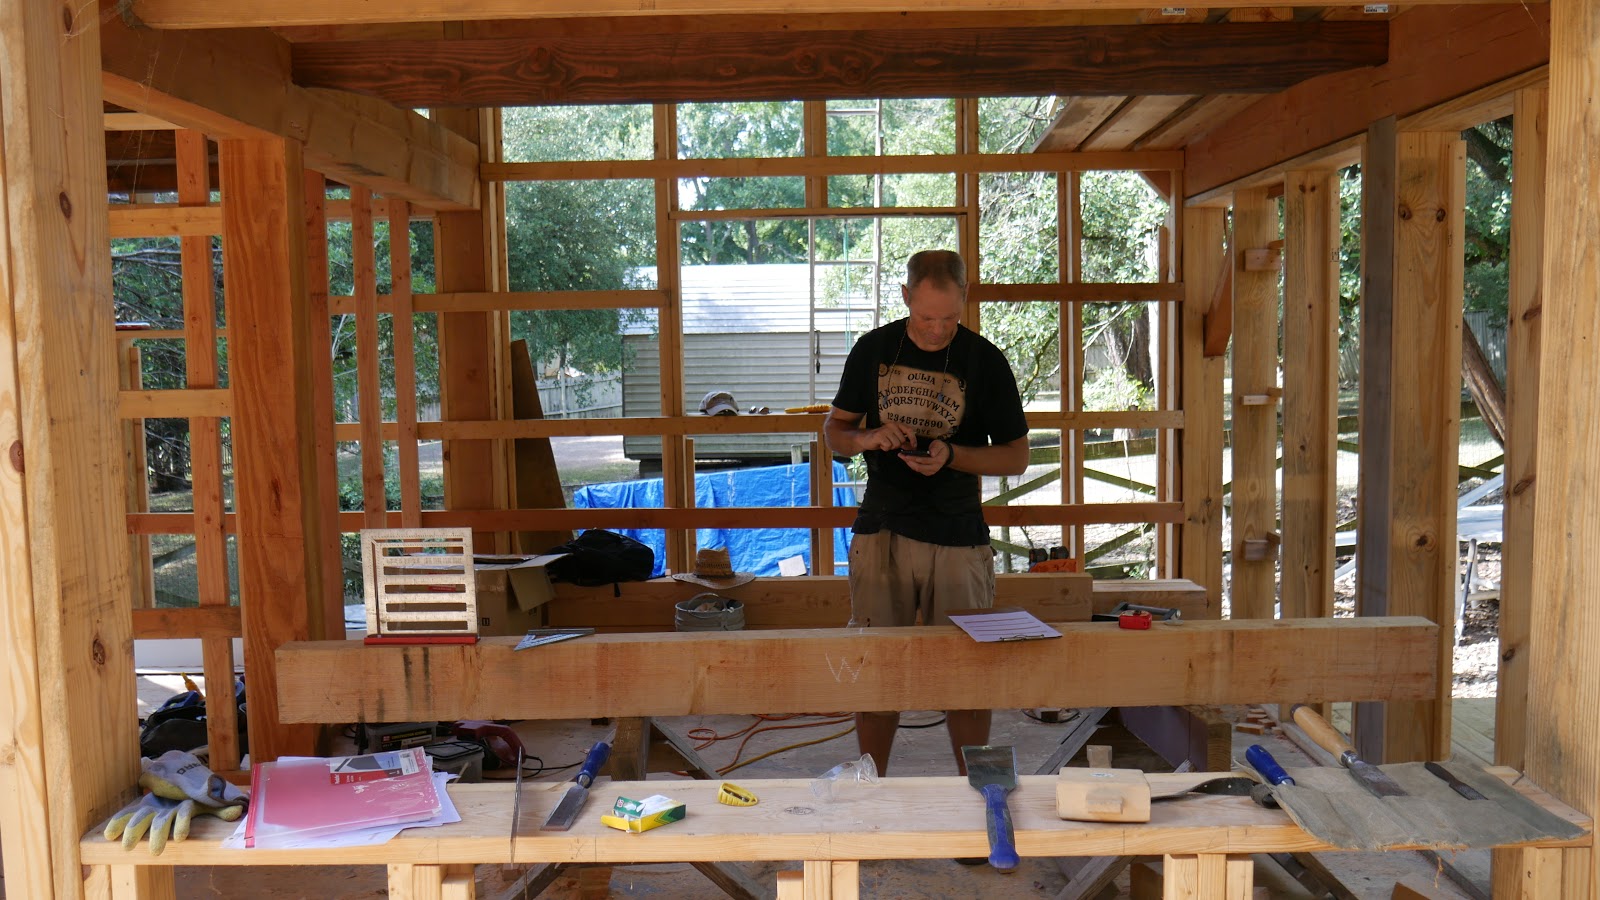
I spent a fair amount of time this week head scratching and making use of my scientific calculator.
At this rafter location the angle of the roof line will change by 45° so I’m cutting out this wedge so later I have something to attach a fascia board to.
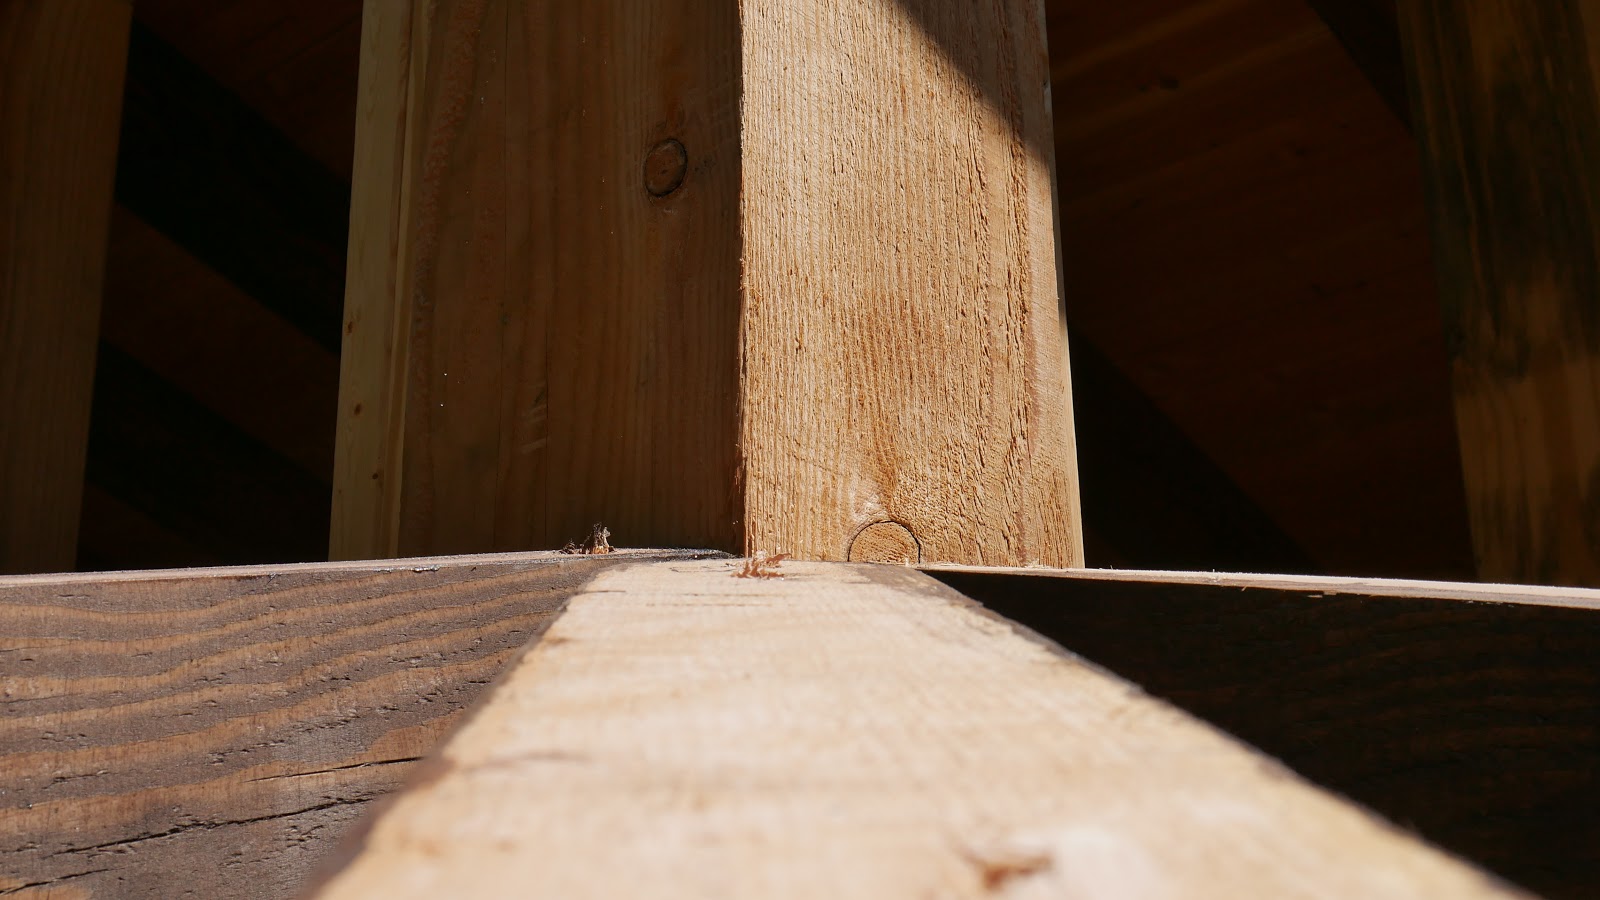
Where the angle of the roof line changes the slope of the roof also changes from approximately 14° to 19.5°. Here I’m cutting a small bevel the entire length of the rafter so the roof decking boards will lay flat. This will make more sense in the pictures below.
Using the chain mortiser to cut pockets for the purlins.
With most of the wood dug out by the chain mortiser, it’s easy to knock out the purlin pocket.
Securing the rafter to house with a lag screw. We also attached a corbel to the house that the rafter rests on.
Checking that the rafters are square
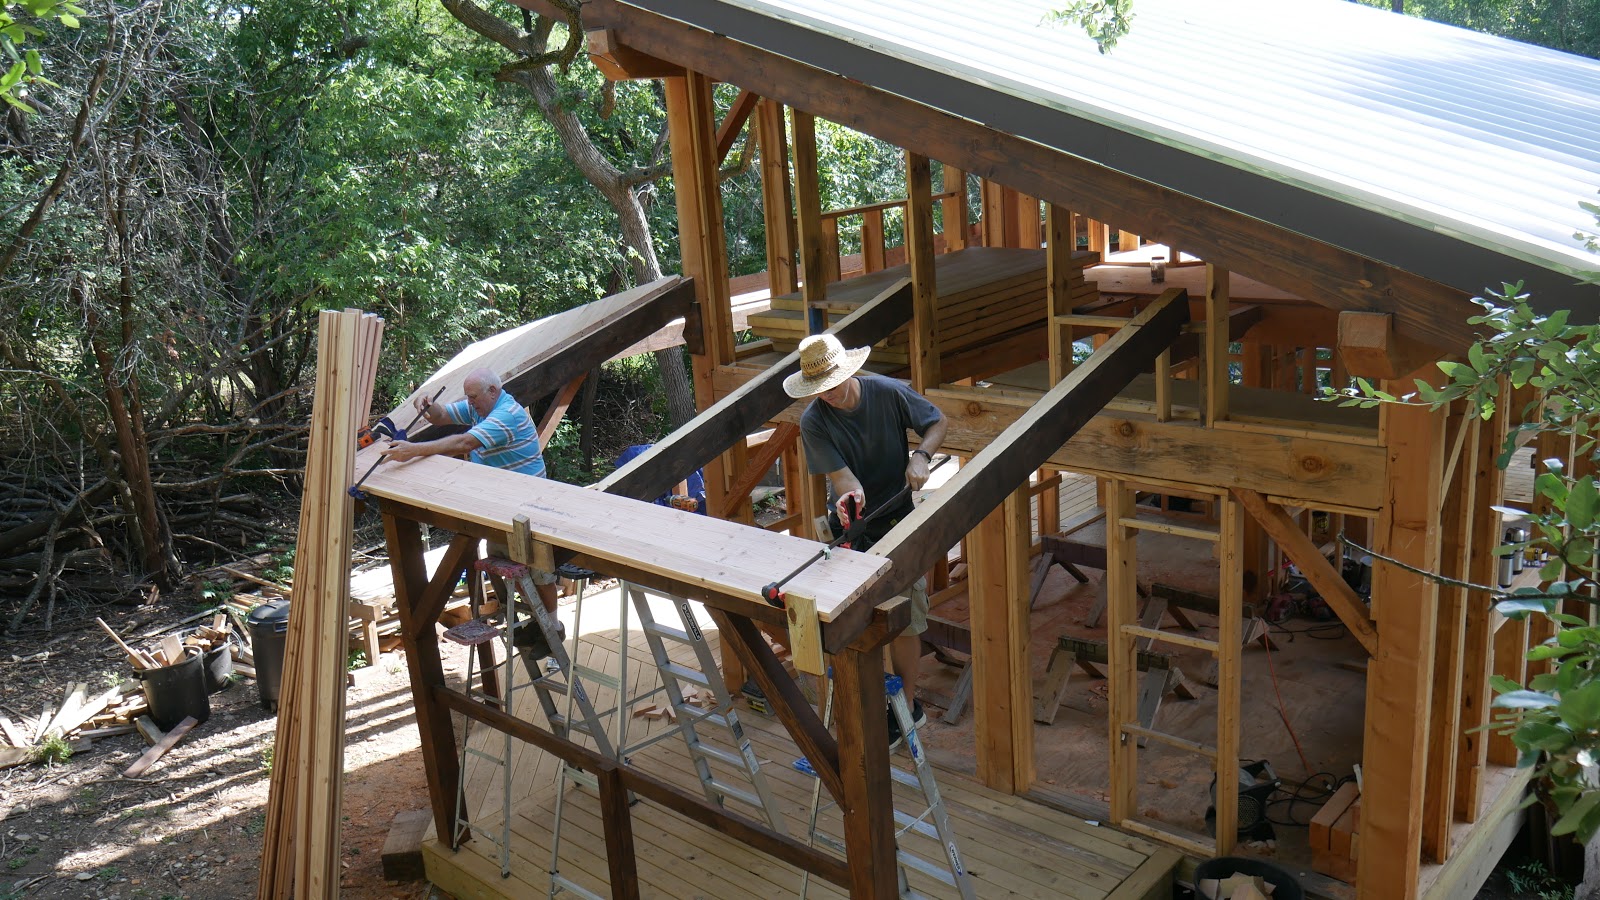
Installing rafters on the west side of the house in the early morning shade.
Tapping the rafter into place
Attaching a corbel with lag screws
The porch posts and beams on the east side were leaning out slightly so we used a ratchet strap to pull them in. Once the rafters are secured in the place they will hold the posts and beams in the correct position.
Lifting the last rafter
Making a small correction to the bird’s mouth cut.
Rafters installed!
My Dad made these corbels from some scrap 2x8s from the wall framing. Each rafter is secured to the house with 2 or 3 lag screws in addition to resting on the corbel.
This was the most difficult connection. Half of the two outside rafters are beveled so that it’s in the same plane as the top of the center rafter. It’s not as pretty as computer generated picture below but it will work.
It’s hard to tell from the picture but it was pretty close to being in the same plane.
Installing 2X6 tongue and groove deck boards
For the first several runs of deck boards we were able to use clamps to close any gaps
As the sun creeps up I cut off the ends of the boards
During the middle of the day I prepared purlins in the shade. The purlins are rough sawn 4x6s that will span across the front of building providing support for the clear roofing. Preparation involved giving them a light sanding and cutting them to fit the purlin pockets in the rafters.
Installing a purlin
In the later afternoon I went back to work on the east side of the house. I attached these stops to the end of each rafter to help install the first decking board.
Eventually I’ll added a 2×6 fascia board to the end of the rafter. The stop ensures I have the right amount of overhang.
Conventional rafter spacing using 3/4″ plywood is 1.5-2 feet. These rafters are spaced 6 feet apart. The tongue and groove decking I’m using is 1.5 inches thick. The thickness combined with they way they interlock allows them to breach that span. If you stand mid span between the rafters it’s a little creaky but feels sturdy enough.
Finishing up the west side decking the next morning.
Related
3 thoughts on “Porch Roof Construction Part 2: Rafters and Decking”
Ocean and River said there were not enough of the chickens this time. Speed was impressive!


Ocean and River said there were not enough of the chickens this time. Speed was impressive!
I see Braines on display.