Central Texas has been experiencing something of a dry spell for the past few months. As the heat presses on through September and the vegetation turns a crispy brown I have this vision of pouring rainstorms coming in October and I think, “It sure would be nice to capture some of that rain.” There are a few steps to get to that point. First would be cladding the porch roof followed by installing the gutters. But before I get to that, an aside…
Working on this project I’ve developed a passion for a few building materials/methods including:
Timber frame construction: That was kindled pre-project by working on the Community Table at Community First. Originally, I had intended to conventionally frame the house. Then I had intended to conventionally frame the porch. And for the next project I…. well, it’s a slippery slope isn’t it?
2×6 Tongue and Groove Decking: It’s expensive but it’s beautiful and easy to install. Plus, I really liked the feeling I got after we installed the last 2×6 plank on the main house that the ceiling was completed. No going back later to install sheet rock and plaster to finish it out. One check box of a myriad of check boxes checked. Hooray!
The standing seam metal roof: Ditto my comments from the tongue and groove decking. Expensive but beautiful and easy to install. Also, extremely low maintenance, super long lifespan and I like that with the hidden fastener system it is extremely resistant to leaks.
With asides aside, the metal roof panels and trim for the porch came in a couple of weeks ago. I was glad to get a second round with a standing seam metal roof. I think I did an okay job with the roof on the main house but there are a few minor defects that I’m not as thrilled with. Fortunately, they’re mostly cosmetic and they probably only bother me and any overly critical squirrels in the neighborhood.
Cladding the porch was a step up in complexity with the hipped roof so I watched and re-watched a lot of YouTube videos in preparation.
Here’s a time lapse of the cladding and guttering experience:
And here are stills with more details:
Installing synthetic underlayment. I’ve also become a fan of this product over the asphalt roof felt.
Staining the porch deck. It’s been a few month since the deck was installed and the boards seemed have dried sufficiently. In fact, some of the deck boards shrank some much that they sheared deck screws in two.
Preassembling the gutter for the main roof on the ground. Much easier than trying to assemble it 16 feet in the air.
Because the rafters on the main roof are square cut I’ll have to attach wedges to the fascia so the gutter is not sloped forward. On the ground I attached this 2×4 backer to the gutter to provide some rigidity.
Preassembled gutter
Attaching the wedges to the fascia. The camera caught several pictures of me initially installing the wedges upside down. There was a lot of condensation on the roof and I was putting a lot of focus into not sliding off.
Installed gutter. The center of the gutter is a couple of inches higher than either end where the downspouts are located.
For the porch I got a combination trim/gutter. The roof hips were tricky because I had to cut a 45° vee in the gutter.
Trim cut with 45° turn
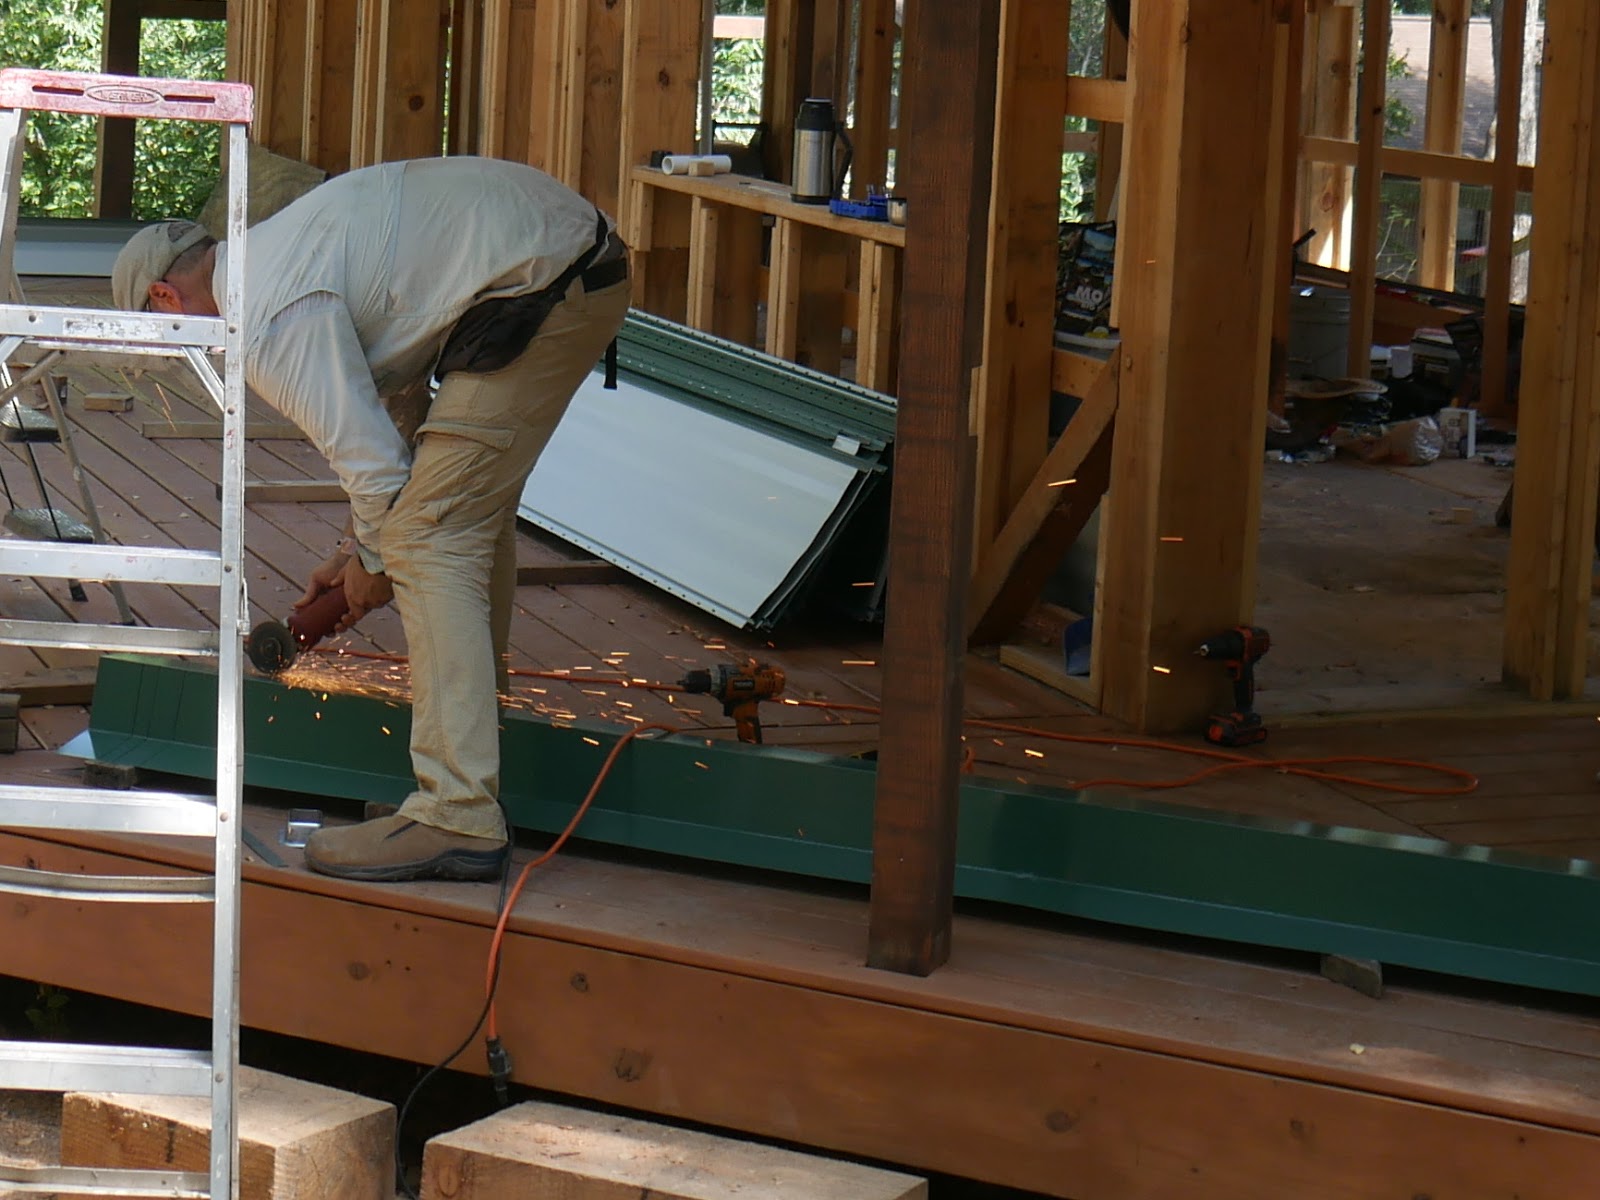
Cutting hole for downspout
For a $20 tool the grinder sure does come in handy in many a situation
By the last 45° angle cut I had become fairly proficient. If only I could redo the first couple.
Gutter outside corner. I have some left over gutter. I might use it cover over that little gap at the top of the gutter.
Installing gutter
Preparing roof panels
Along the bottom edge of the roof I’ll install a piece of trim called an offset cleat that these roof flaps will hook into so there are no exposed fasteners.
Popping chalk line for installing the first panel. If the first panel is square to the roof the rest of the panels will fall into line fairly easily.
Hooking the roof panel flap into the offset cleat.
The last panel took some doctoring as I had to cut it lengthwise so it wouldn’t overhang the edge of the roof.
Installing zee closure on both sides of the hip. The hip trim has a small lip that will hook into the zee closures.
Pulling up the edge of the zee closure
Installing the hip trim
Trimming the hip trim down to size and finishing out the end
Securing the trim with pop rivets
The panels and trim had a lot of tape on them to protect them from scratching during transport and installation
Mostly finished roof. There’s a little more trim to be added where the roof meets the walls but I’m going to wait until the walls are infilled with light clay straw.
 Central Texas has been experiencing something of a dry spell for the past few months. As the heat presses on through September and the vegetation turns a crispy brown I have this vision of pouring rainstorms coming in October and I think, “It sure would be nice to capture some of that rain.” There are a few steps to get to that point. First would be cladding the porch roof followed by installing the gutters. But before I get to that, an aside…


