“Dry-In” means that the building shell has been completed sufficiently to keep out wind, rain, or the weather in general, thus assuring that weather-sensitive materials or work can begin indoors without those materials suffering weather damage by rain, wind, snow, etc.
With the windows installation complete as of mid February we are very close to having the cabin dried-in. Their were two phases to the windows install.
Roof line Hopper Vent Windows Between where the rafters sit on the plate beam there is an approximately 10″ high by 32″ wide opening. We found these 8″ x 24″ hopper vent windows (sourced through Home Depot and Amazon) that are intended to be installed in glass block walls that fit the space perfectly. The windows are frosted allowing in a small amount of diffused ambient light. They’re also operable and screened which is a nice addition.
We installed a total of 12 hopper vent windows (6 along the high side of the roof and 6 along the low side). Now if we open the vents on the high side and low side we can get a convection current along the underside of the ceiling. Realistically, I don’t know how often that will happen as once the scaffolding is removing accessing some of the windows will be difficult.
Hopper Vent Window
These windows didn’t have nailing fins. I think typically without nailing fins windows are attached by screwing fasteners through the frame into the studs and plate boards. I was concerned about distorting the shape of the window and thus affecting the quality of the seal.
Instead I installed exterior window trim and sandwiched the window between the trim and some strips of quarter round moulding on the interior. Then to seal around the window I applied cob. Once the cob dried the window seemed very well secured. I overdid the cob on a few windows and had to remove some to get the windows to open fully.
Casement, Awning and Picture Windows I ordered Pella windows through Lowes for the rest of the cabin windows. After much dithering I
Floor plan and Windows Layout
settled on a double-paned fiberglass variety. This was a middle of the road quality/cost option. Nicer and more durable the vinyl and less expensive than wood. The fiberglass also had good thermal properties. I got quotes from Andersen and NT windows as well for similar designs and cost wise they were all about the same. Pella offered a lifetime warranty where Andersen’s was for 20 years. The Pella windows were on sale and Lowes gave me an additional discount on top of that. It did take two months to receive the windows after they were ordered.
The install was quick and easy with some familial assistance. I did apply flashing tape along the sill plate even though I don’t know how useful that is as the cabin exterior doesn’t have a waterproof membrane. The rough openings were all square and sized appropriately (~ 1/2″ larger than the window). There was some confusion on how to install the crank hardware but we got that worked out.
Check out the recap video below
And here are some stills with more details:
Installing window trim
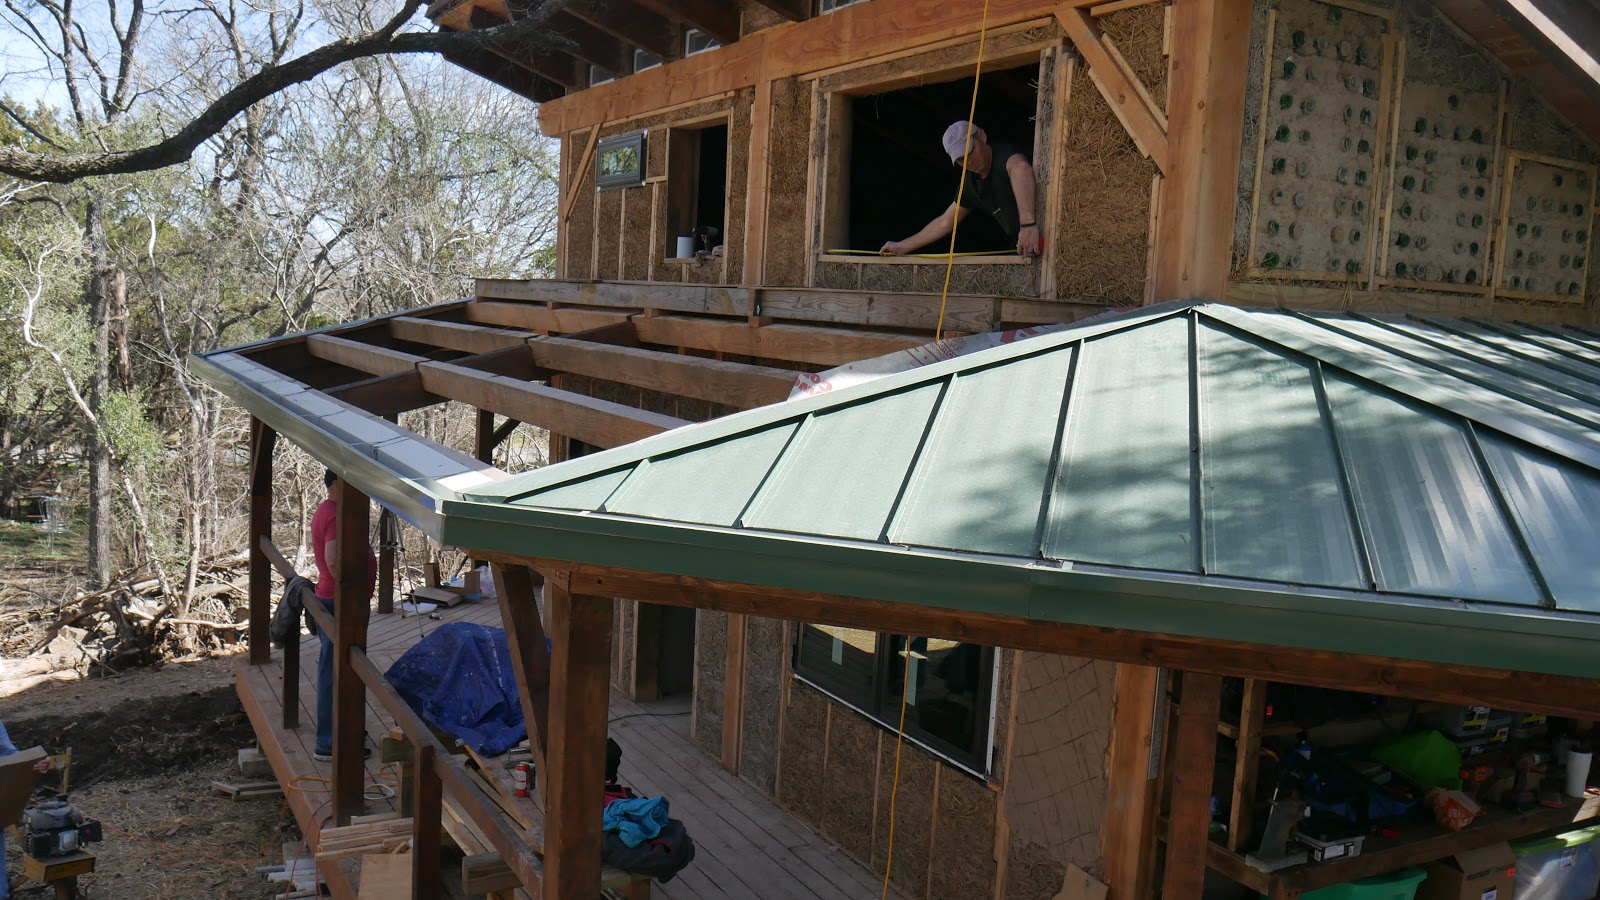
Installing windows on the south side of the cabin. This is February 7th. Note were the sun strikes the wall.
Installing double awning window in the office
Applying tape to window sill
Removing packing from living room window
Taking off screens
More tape
Positioning window in rough opening
Giving the window a little polish
Checking windows open correctly
Finishing up with the loft windows
Related
0 thoughts on “Windows Install”
Love the fact that this is my debut on this blog, in silhouette! 😉
 Between where the rafters sit on the plate beam there is an approximately 10″ high by 32″ wide opening. We found these 8″ x 24″ hopper vent windows (sourced through Home Depot and Amazon) that are intended to be installed in glass block walls that fit the space perfectly. The windows are frosted allowing in a small amount of diffused ambient light. They’re also operable and screened which is a nice addition.


Love the fact that this is my debut on this blog, in silhouette! 😉